Foreword
一直有一个插件或者工具的想法,只是有初步的一些点,但还不确定具体能做到什么程度,先拿VS Code的插件来实验一下是否可行
VS Code插件入门
VS Code本身是基于Electron的,所以插件的开发基础自然也就是nodejs+js
先搞懂VS Code的基础架构和插件接口,就可以考虑实现一个小demo看看效果
基于插件入门的文档,预备阶段需要一些TS知识就先跳过,写的时候再学也可以
https://liiked.github.io/VS-Code-Extension-Doc-ZH/#/
看了一下插件API可以实现的功能,以下两点大概是我目前最在意的
构建插件
来一次Hello World准是没错的
https://code.visualstudio.com/api/get-started/your-first-extension
准备
- Node.js
- Git
首先安装好代码生成
npm install --global yo generator-code
- 最好挂上代理,这个包有点难拉

Hello World
调用脚手架生成代码
yo code
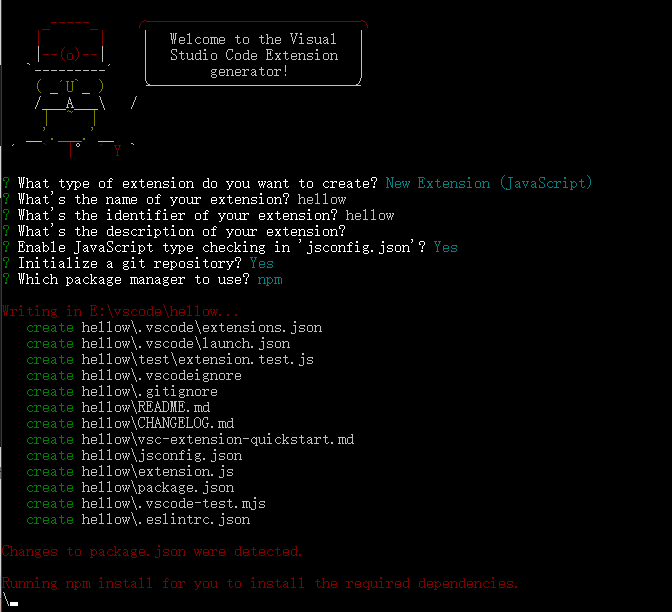
回答一系列问题以后,hellow就生成了,然后根据提示打开一个新的VS Code
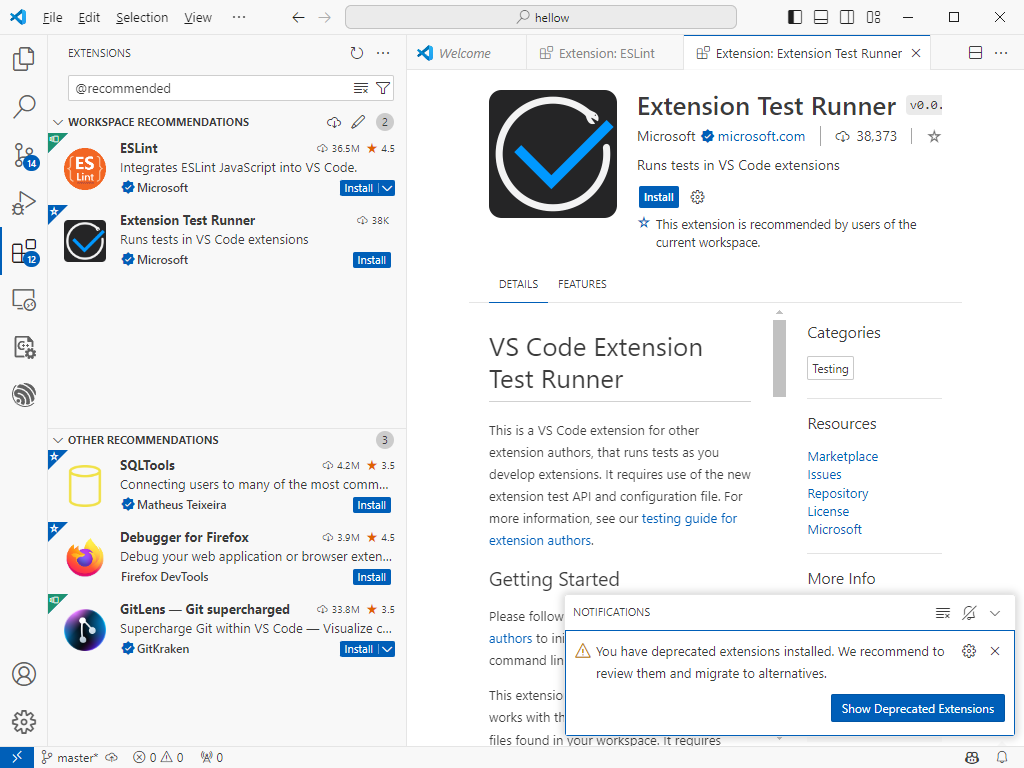
提示安装一下插件测试器,并且提示刚才构建的插件过于老了,没关系先玩玩看
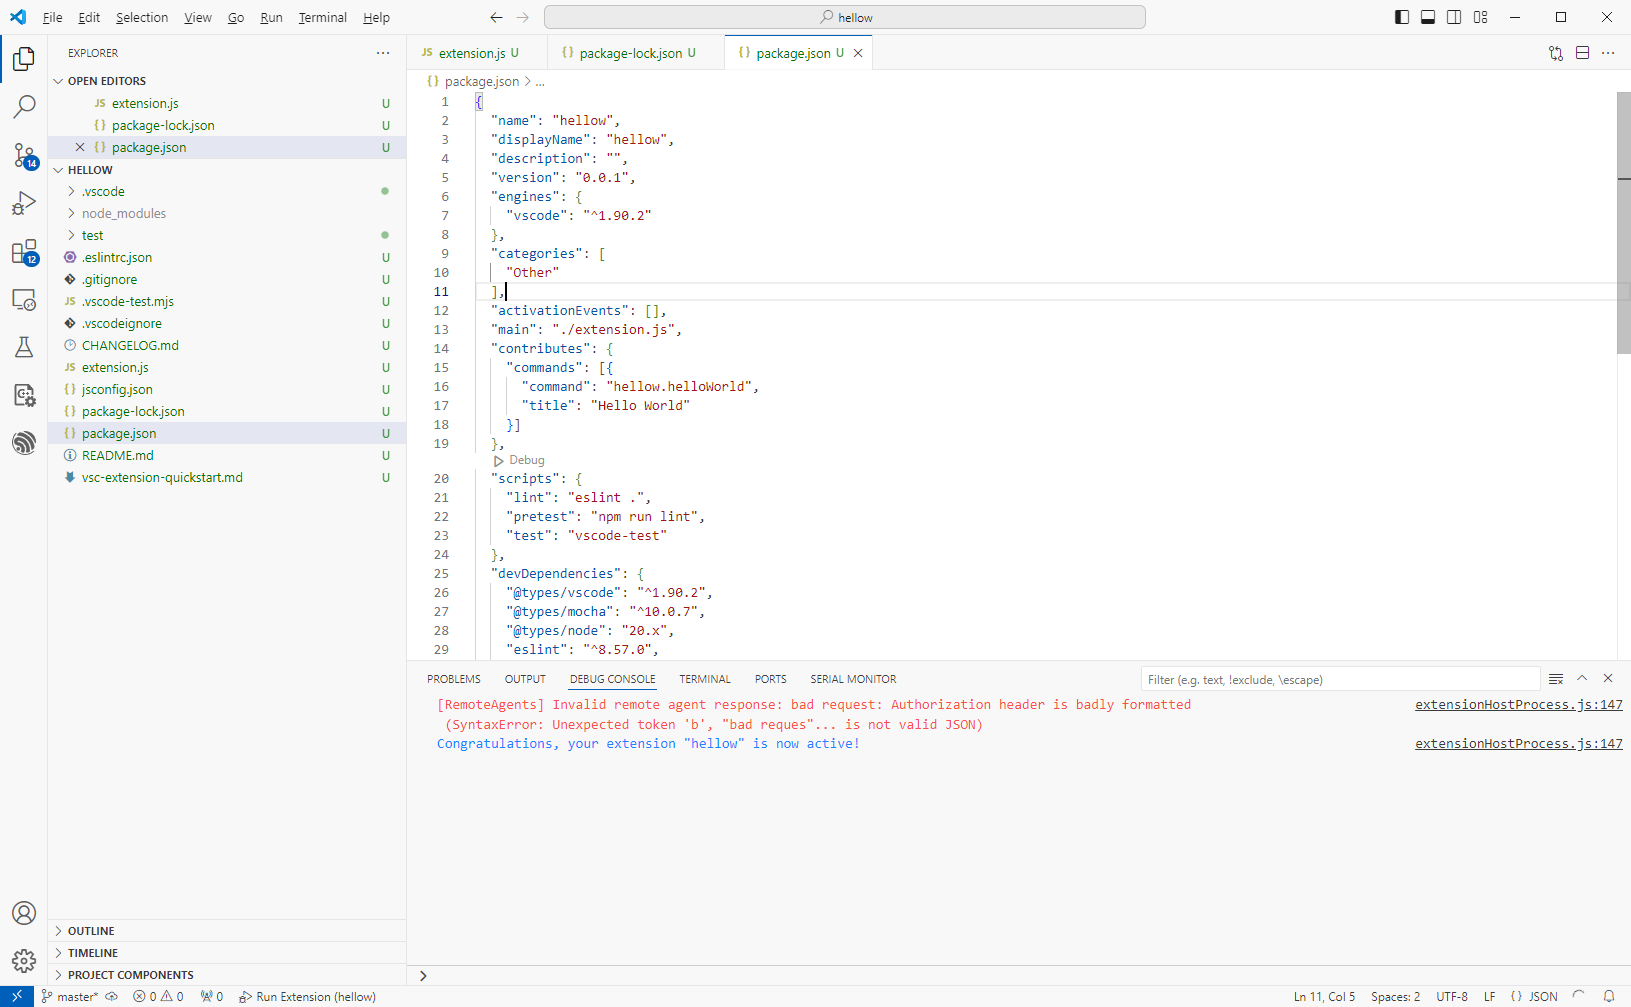
自动打开刚才新建的工程,但是此工程实际上可能跑不起来,需要先修改两个内容
直接F5,启动调试,可以看到新起了一个VS Code,尝试看是否有Hello World命令,测试应该是没有的
此时查看测试VS Code的版本号,发现是1.90.2
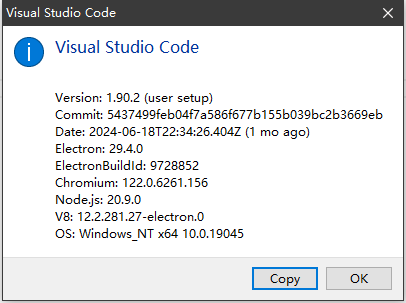
核对一下package.json中的包代码,发现不一致
  "engines": {
    "vscode": "^1.90.2"
  },

    "devDependencies": {
    "@types/vscode": "^1.90.2",
将依赖的包版本修改为对应的VS版本后重启
如果是热修改,VS Code也支持热重启,在调试启动的VS Code使用Ctrl+R就会重新加载修改后的插件,立马就能验证插件了
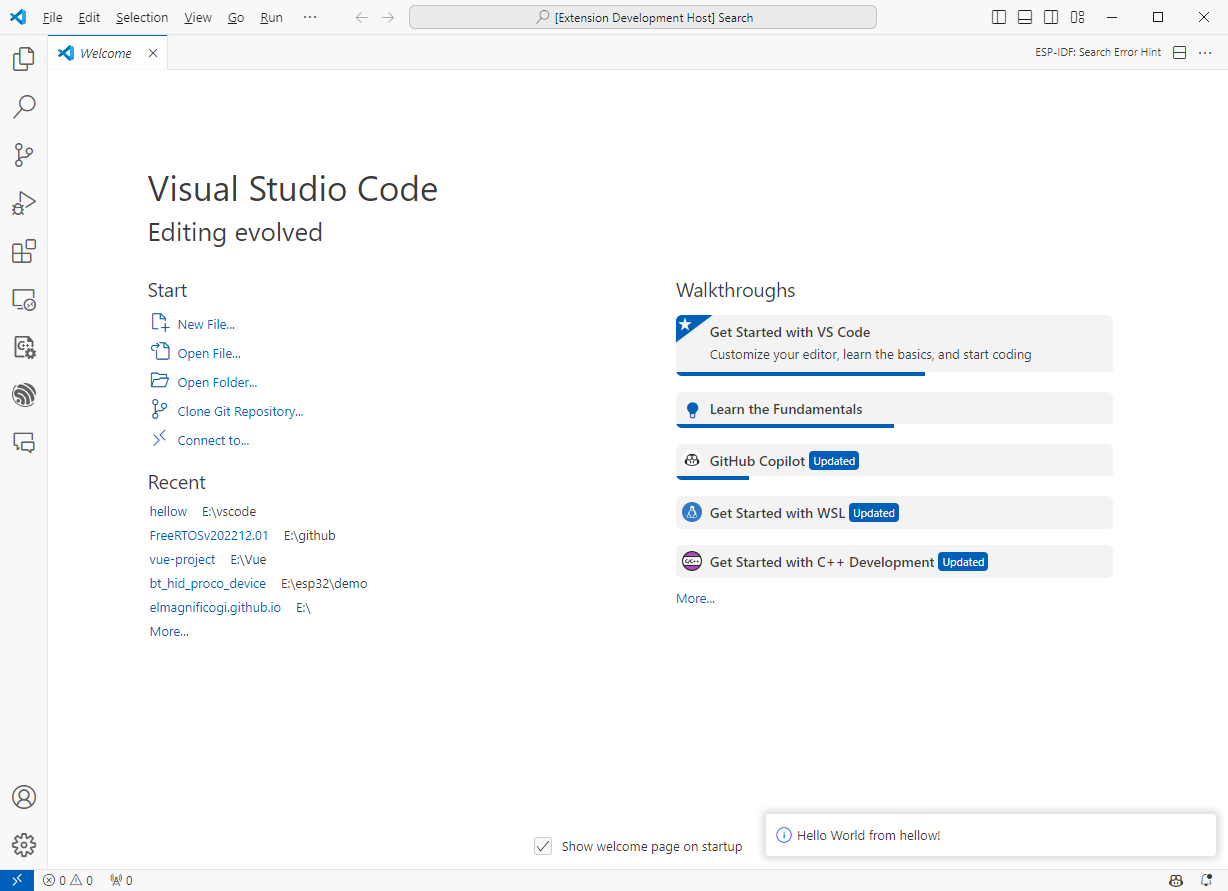
已经有Hello World命令,并且消息提示正常
主工程的VS Code中可以看到对应的log提示

代码解析
工程结构,相对比较简单
.
├── .vscode
│   ├── launch.json     // 插件加载和调试的配置
│   └── tasks.json      // 配置TypeScript编译任务
├── node_modules        // nodejs需要引用的各种模块
├── test                // 单元测试相关内容
├── .vscode-test.mjs    // 单元测试相关内容
├── .gitignore
├── .vscodeignore       // vscode工程的忽略文件
├── .eslintrc.json      // 应该是es编译器相关配置
├── jsconfig.json       // js相关配置
├── .gitignore
├── README.md
├── extension.ts        // 插件源代码
├── package.json        // 插件配置清单
├── tsconfig.json       // TypeScript配置
- node_modules/@types/vscode/index.d.ts 中有所有的API接口
- 前面安装的插件
vscode.extension-test-runner是为了配合工程中的test单元测试使用的
其他文件基本都是配置或者环境相关文件,主要实现还是在extension.js中
// The module 'vscode' contains the VS Code extensibility API
// Import the module and reference it with the alias vscode in your code below
const vscode = require('vscode');

// This method is called when your extension is activated
// Your extension is activated the very first time the command is executed

/**
 * @param {vscode.ExtensionContext} context
 */
function activate(context) {

	// Use the console to output diagnostic information (console.log) and errors (console.error)
	// This line of code will only be executed once when your extension is activated
	console.log('Congratulations, your extension "hellow" is now active!');

	// The command has been defined in the package.json file
	// Now provide the implementation of the command with  registerCommand
	// The commandId parameter must match the command field in package.json
	const disposable = vscode.commands.registerCommand('hellow.helloWorld', function () {
		// The code you place here will be executed every time your command is executed

		// Display a message box to the user
		vscode.window.showInformationMessage('Hello World from hellow!');
	});

	context.subscriptions.push(disposable);
}

// This method is called when your extension is deactivated
function deactivate() {}

module.exports = {
	activate,
	deactivate
}
插件注册流程也比较简单,就是激活和反激活,在这两个时间可以做一些注册命令或者安装或者清理环境之类的工作
activate
deactivate
整个插件模块可以暴露的接口,也是可以自定义设计的
module.exports = {
	activate,
	deactivate
}
主要就是调用了两个接口,一个注册命令,一个显示消息
vscode.commands.registerCommand
vscode.window.showInformationMessage
简单理解为向VS Code的上下文中注册了这个接口
context.subscriptions.push
package.json需要重点说明一下,这里面描述了入口是谁,并且插件的版本和他对vscode的版本的要求,这里都是最低版本要求,同时插件的命令也在这里进行了说明
{
  "name": "hellow",
  "displayName": "hellow",
  "description": "",
  "version": "0.0.1",
  "engines": {
    "vscode": "^1.90.2"
  },
  "categories": [
    "Other"
  ],
  "activationEvents": [],
  "main": "./extension.js",
  "contributes": {
    "commands": [{
      "command": "hellow.helloWorld",
      "title": "Hello World"
    }]
  },
  "scripts": {
    "lint": "eslint .",
    "pretest": "npm run lint",
    "test": "vscode-test"
  },
  "devDependencies": {
    "@types/vscode": "^1.90.2",
    "@types/mocha": "^10.0.7",
    "@types/node": "20.x",
    "eslint": "^8.57.0",
    "typescript": "^5.4.5",
    "@vscode/test-cli": "^0.0.9",
    "@vscode/test-electron": "^2.4.0"
  }
}
Summary
第一步ok
Quote
https://liiked.github.io/VS-Code-Extension-Doc-ZH/#/
https://code.visualstudio.com/api